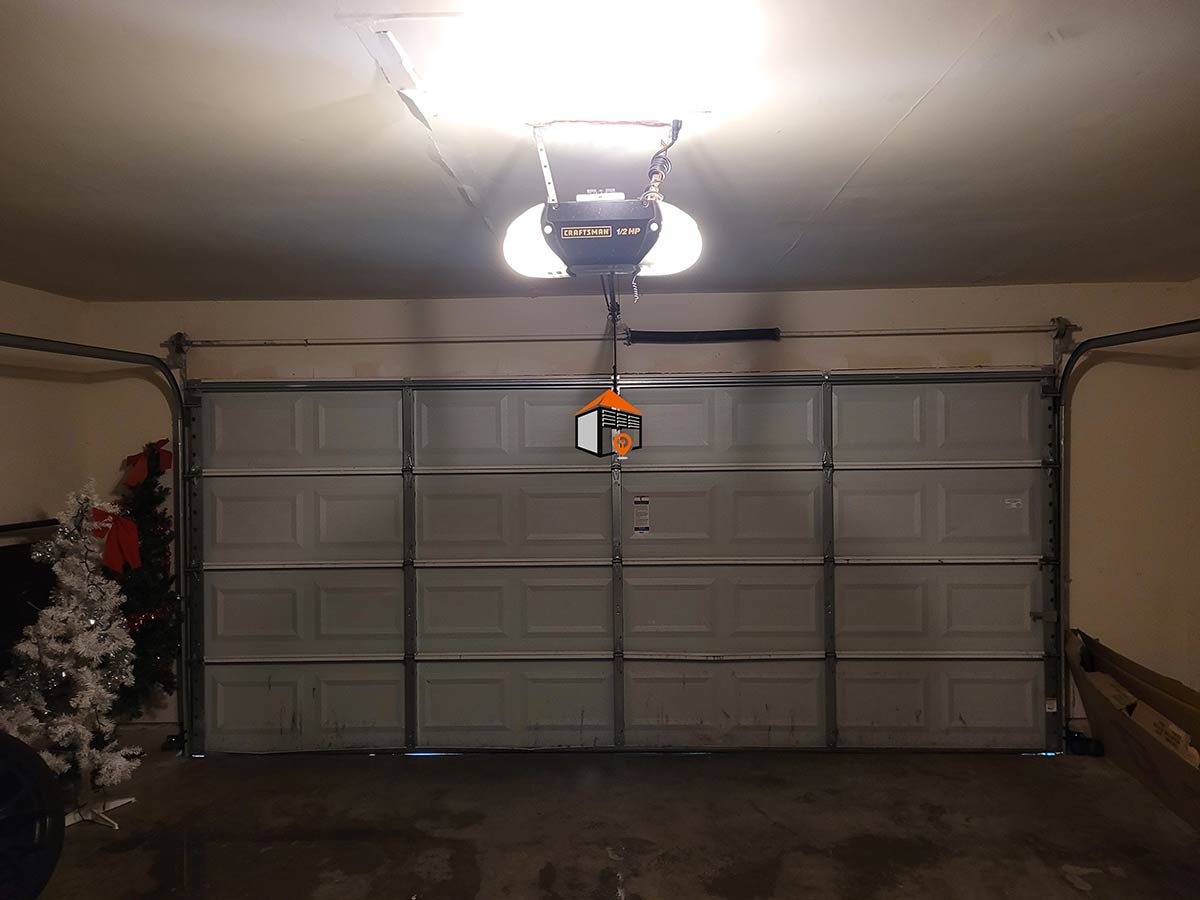
Diagnostic Overview
The primary reason for replacing a bottom garage door hinge is often due to cables coming off the drums, resulting in a crooked door. This misalignment can bend the tabs where the bottom roller slides, making them susceptible to breakage. In most cases, technicians can bend the tabs back into place; however, if the damage is severe, replacement is necessary. Additionally, if the stud that the cables wrap around becomes damaged, it can lead to ongoing issues.
Cost and Difficulty Level
Estimated Costs
Replacing a bottom garage door hinge typically costs between $20 to $50.
Assessing Difficulty
The process of replacing this hinge can be challenging and is classified as difficult.
Time Commitment
Expect the repair to take between 30 to 60 minutes.
Tools Required
To successfully complete this repair, gather the following tools:
- A 3/8 or 7/16 wrench or socket
- An impact drill (recommended but not necessary)
- A pair of 12- to 16-inch winding bars
- A ladder for reaching elevated components
Important Safety Warning
Caution: Torsion Springs
It’s crucial to understand that working with torsion springs can be extremely dangerous and is not recommended for inexperienced individuals. If you choose to proceed, have adequate knowledge of how to safely handle torsion springs.
Option 1: Replacing with the Door in the Up Position
Step 1: Open the Garage Door
Begin by fully raising your garage door. If you have an automatic opener, simply activate it to keep the door steady during repairs. If not, enlist the help of someone to hold the door in place, as maintaining the up position is vital for safety.
Step 2: Maintain Cable Tension
With the garage door fully open, there will be minimal tension on the springs. To prevent the cable from losing tension and becoming a hassle, use vise grips to clamp it lightly. Do not clamp too tightly, as this may distort the cable.
Step 3: Remove the Bottom Hinge
Carefully unscrew or unfasten the bottom hinge. If your garage door is wooden, check for nails holding the hinge in place and remove them. Once detached, take out the roller and cable.
Step 4: Install the New Hinge
Attach the new hinge by first connecting the cable to the metal stud. Then, reinstall the roller into the new hinge. Secure the hinge back onto the door using the original screw holes to ensure proper function.
Option 2: Replacing the Hinge by Locking Down the Torsion Springs
Step 1: Set Up for Maintenance
Ensure the garage door is closed, then disable the opener. Pull the emergency release cord to disconnect it, and unplug the opener for added safety against accidental activation.
Step 2: Locking the Torsion Springs
Use winding bars to lock down the torsion springs. Slide the first bar into a winding slot and lift the spring enough to insert the second bar, allowing you to lock the spring in place.
Step 3: Remove the Bottom Hinge
Attach vice grips to the cable to maintain tension, then unscrew the bottom hinge. If necessary, remove the hinge just above it for easier access. Detach the roller and cable from the old hinge.
Step 4: Reattach and Adjust
After placing the roller and cable onto the new hinge, return it to the exact original position. Reinstall any screws or bolts securely.
Final Steps: Testing Your Repair
Re-engage the Torsion Springs
Before re-engaging the springs, adjust the cable drums to ensure tension is evenly distributed across both sides of the door. This is important for proper functioning.
Test the Garage Door
Manually test the garage door for smooth operation before reconnecting any power. Once confirmed functional, operate it using the opener. If issues arise, it may be necessary to consult a technician for further assessment.
By following these detailed steps and safety precautions, replacing a bottom garage door hinge becomes a manageable task, ensuring your garage door operates smoothly and reliably once again.
