How to Replace Garage Door Rollers?

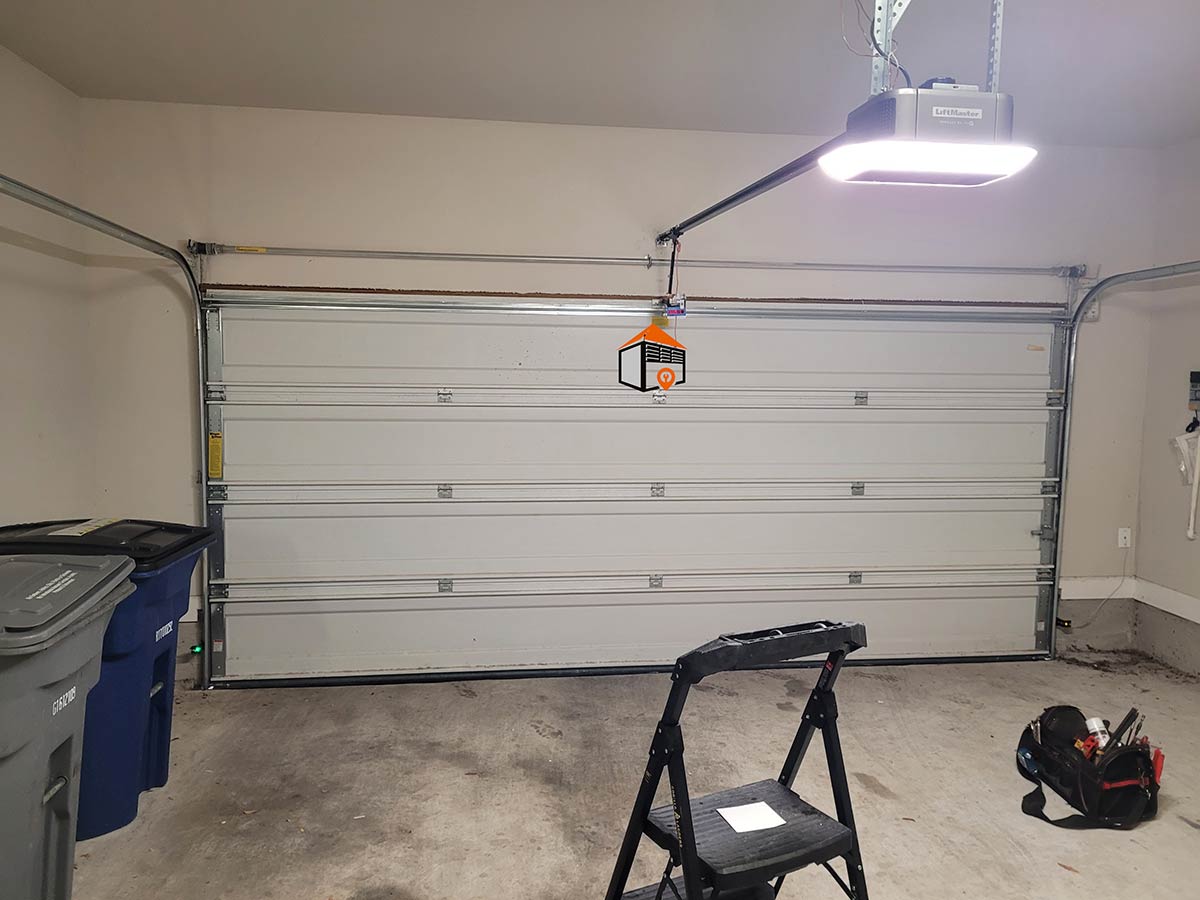
Understanding Garage Door Rollers

The average roller is rated for 10,000 to 20,000 cycles. For a standard residential garage door, a cycle is where the door goes up once and down once. Rollers can be made entirely of steel, nylon, or a composite material. Plastic compound rollers tend to wear out faster than their steel counterparts. Signs of wear include scored flat spots or a reduced diameter, which can cause the roller to pop out of the track if the installation wasn’t done correctly.

Cost of Replacement

Replacing garage door rollers typically costs between $20 and $40. This affordability makes it a worthwhile investment to ensure the smooth operation of your garage door.

Repair Difficulty and Time Commitment

The Difficulty Level

Replacing garage door rollers is generally considered an easy task. However, the complexity may vary based on the specific conditions of your garage door.

Estimated Time for Repair

Most repairs should take between 30 minutes and an hour and a half, depending on your expertise and the situation.

Tools Required for the Job

You’ll need a few essential tools to complete this repair. An impact drill is not strictly necessary, but it is recommended for efficiency. Other required tools include:

  • 3/8″ socket or wrench
  • 7/16″ wrench or socket
  • Step stool or ladder
  • Ratchet wrenches for ease of use

Choosing the Right Replacement Method

There are two primary methods for replacing garage door rollers:

Option 1: Removing the Hinges

This method involves removing the hinges on both sides of the garage door to take out the old rollers and replace them with new ones.

Option 2: Removing the Vertical Track

In some cases, such as when the vertical track is embedded in concrete, you may need to remove the entire vertical track to replace the rollers.

Detailed Steps for Replacing Rollers

Option 1: Removing the Vertical Track

Step 1: Secure the Door

Before starting, ensure the garage door is in the down position. Secure the door to prevent it from falling as you work. If you have a garage door opener, use it to close the door completely. If not, use nails to secure the door to the door jam.

Step 2: Use an Impact Drill

Using an impact drill or a standard drill will make the procedure easier. Remove the screws from the jamb brackets—these connect the vertical tracks to the wall. Take note of the track bolts at the top and bottom sections of the vertical track.

Step 3: Replace the Rollers

Once the track is free, slide out the old rollers and replace them with new ones. Make sure to reinstall the vertical track in its original position and tighten all screws accordingly. Always ensure the bolts are oriented correctly for the rollers to pass through.

Option 2: Removing the Hinges

Step 1: Identify Your Hinges

Begin with the garage door in the down position. Identify the number one hinge at the top of the bottom section. This is usually the second roller.

Step 2: Remove the Old Rollers

Remove the screws or bolts securing the hinge to the door. If the hinge is stuck, you can gently pry it with a flathead screwdriver. Replace the old roller with a new one.

Step 3: Replace the Top Rollers

Repeat these steps for the top rollers. When securing the top fixture, ensure that the roller is properly hooked into the track before tightening screws.

Special Considerations for Bottom Rollers

Replacing the Bottom Roller

The bottom roller may be trickier due to the high tension cables. Always check how your garage door’s bottom fixture is configured. If it has a two-piece lower fixture, you can replace it without handling the high tension cables.

Handling Tension in Cables

If you suspect that the tension in the cables may cause issues, consider using a second pair of hands to assist you. This is crucial for safety to ensure you maintain appropriate cable tension throughout the process.

Professional Options for Extreme Cases

Locking Down Torsion Springs

If you have the experience, locking down the torsion springs is the most professional approach to replacing the bottom roller safely. If you’re unsure, it’s best to consult with a professional technician.

Final Steps and Maintenance

Re-engaging the Torsion Springs

After completing the roller replacement, it’s critical to re-engage the torsion springs carefully. Ensure that everything functions smoothly by testing the garage door manually first before connecting it to the opener.

Lubrication for Longevity

Finally, lubricate your new rollers lightly. Use a suitable lubricant and avoid heavy greases to keep dirt and grime at bay. Regular lubrication should be conducted at least once a year to maintain optimal functionality.

By adhering to these guidelines, you can effectively replace your garage door rollers, ensuring a safe and smooth operation for years to come.

Frequently Asked Questions

Genie garage door openers are highly reliable, but there are always questions about how to maintain and optimize their functionality. Here are five more FAQs to help you.


1. How do I adjust the force settings on my Genie garage door opener?

Adjusting the force settings can help your garage door opener function smoothly. Here’s how:

  1. Locate the adjustment dials: These are typically on the back or side of the motor unit.
  2. Identify the “Up Force” and “Down Force” dials: Adjust these settings according to the door’s performance.
  3. Test the door: Make small adjustments and test the door’s movement after each change.

Ensure the door opens and closes fully without stopping or reversing unnecessarily.


2. Can I use LED light bulbs with my Genie garage door opener?

Yes, but ensure you choose the right type:

  • Look for LED bulbs designed for garage door openers: These are engineered to minimize interference with the remote control signal.
  • Check wattage compatibility: Use bulbs within the recommended wattage range for your Genie model.
  • Install properly: Secure the bulbs tightly to avoid vibrations causing malfunctions.

Using the right LED bulbs improves energy efficiency and longevity.


3. How do I clean and maintain the safety sensors?

Keeping the safety sensors clean ensures reliable operation. Follow these steps:

  1. Turn off the opener: Disconnect the power to avoid accidental activation.
  2. Inspect the sensors: Check for dirt, cobwebs, or obstructions.
  3. Clean the lenses: Use a soft, dry cloth to wipe the sensor lenses gently.
  4. Align the sensors: Ensure the sensor beams are aligned, indicated by a solid light on both sensors.

Regular cleaning prevents false triggers and ensures safety.


4. What are the benefits of upgrading to a Genie Wi-Fi-enabled opener?

Upgrading to a Wi-Fi-enabled Genie opener offers several advantages:

  • Remote control access: Operate your garage door from anywhere using a smartphone app.
  • Notifications: Receive alerts when the door opens or closes.
  • Enhanced security: Monitor usage and set schedules for opening or closing the door.
  • Integration with smart home systems: Connect to platforms like Alexa or Google Assistant.

This upgrade adds convenience and peace of mind to your daily life.


5. Why is my Genie opener making unusual noises?

Unusual noises from your garage door opener might indicate:

  • Worn-out parts: Check the motor, belts, or chains for wear.
  • Lack of lubrication: Apply lubricant to the moving parts, including the rollers and tracks.
  • Loose components: Tighten any bolts, nuts, or screws that may have come loose.
  • Track misalignment: Ensure the tracks are aligned and free from obstructions.

If the noise persists, consult a professional to prevent further damage.


Final Thoughts

By addressing these common concerns, you can ensure your Genie garage door opener functions reliably and efficiently. Whether it’s routine maintenance, smart upgrades, or troubleshooting noises, taking proactive steps will extend the life of your opener and keep your garage secure.

To help you get the most out of your Genie garage door opener, here are answers to more commonly asked questions that tackle both troubleshooting and advanced functionality.


1. How do I reset my Genie garage door opener after a power outage?

After a power outage, your Genie opener might need resetting to function correctly. Follow these steps:

  • Disconnect the opener: Pull the emergency release cord to disengage the motor.
  • Manually close the door: Ensure the door is fully closed before proceeding.
  • Reconnect the opener: Plug the opener back into the power source.
  • Reprogram if needed: Refer to the user manual to reprogram your opener, especially if the remote control isn’t working.

If the problem persists, inspect the circuit breaker or contact a professional.


2. What does the blinking light on my Genie garage door opener mean?

A blinking light on your Genie opener often indicates an issue. Here are common reasons:

  • Sensor misalignment: Check if the safety sensors are aligned and free of dirt or debris.
  • Error codes: Refer to the user manual for specific error code meanings.
  • Obstruction detection: Ensure nothing is blocking the door’s path.

Addressing these issues promptly can restore your opener to normal operation.


3. Can I connect my Genie garage door opener to a smart home system?

Yes, many Genie garage door openers are compatible with smart home systems. To integrate:

  • Check compatibility: Look for Genie models that support Wi-Fi or work with systems like Aladdin Connect.
  • Install the smart module: Follow the instructions provided with your Genie model.
  • Download the app: Use the corresponding Genie app or a third-party smart home app to control your opener remotely.

This setup enhances convenience and adds security features, such as notifications.


4. How often should I replace the batteries in my Genie remote?

Replace the batteries in your Genie remote every 1-2 years, or sooner if:

  • The range decreases: The remote works only when close to the garage.
  • The remote stops functioning intermittently: Ensure fresh batteries are installed.
  • The LED indicator dims: This is often a sign of low power.

Use high-quality batteries to ensure long-lasting performance.


5. Why does my Genie garage door opener stop midway when closing?

If your opener stops midway, consider these potential causes:

  • Door balance issues: Test if the door moves freely by hand after pulling the emergency release cord.
  • Obstructions: Check for objects in the door’s path or dirt on the tracks.
  • Overhead spring wear: Broken or weak springs can strain the motor.
  • Force settings: Adjust the opener’s force settings as per the user manual.

Consult a professional if these steps don’t resolve the issue.


Final Thoughts

Genie garage door openers are designed for convenience and durability. By staying informed and addressing issues promptly, you can maximize their performance and extend their lifespan. Regular maintenance and smart upgrades can make a big difference in functionality and ease of use.

Garage door openers are essential for home convenience, and the Genie brand is a popular choice for reliability. Below, we answer some of the most common and unique questions to help you troubleshoot and maintain your Genie garage door opener.


1. What to do when Genie is not working?

If your Genie garage door opener stops working, start with these troubleshooting steps:

  • Check the power supply: Ensure the unit is plugged in and that the outlet is functional.
  • Inspect the remote batteries: Weak or dead batteries can prevent the remote from operating the door.
  • Look for obstructions: Make sure nothing is blocking the door or the safety sensors.
  • Test the manual operation: Pull the emergency release cord to verify that the door moves smoothly by hand.

If these steps don’t solve the issue, consult your user manual or contact a professional for assistance.


2. How do I reprogram my garage door opener?

Reprogramming your Genie garage door opener is a straightforward process:

  1. Locate the “Learn” button on the motor unit.
  2. Press and hold the button until the indicator light starts flashing.
  3. Press the button on your remote that you want to program.
  4. Wait for the motor unit’s light to flash or click to confirm the pairing.

Your remote should now be successfully programmed to your opener.


3. What wears out a garage door opener?

Over time, several factors can wear out a garage door opener, including:

  • Frequent use: Heavy daily operation puts strain on the motor and mechanical parts.
  • Lack of maintenance: Skipping lubrication or ignoring worn components accelerates wear and tear.
  • Environmental conditions: Extreme temperatures or humidity can impact the opener’s lifespan.
  • Old age: Most garage door openers last about 10–15 years with proper care.

Regular maintenance can significantly extend the life of your opener.


4. Why does my garage door just click and not open?

If your garage door opener clicks but doesn’t open the door, here’s what to check:

  • Inspect the safety sensors: Misaligned or dirty sensors can prevent operation.
  • Examine the motor: Clicking might indicate a motor that’s attempting to work but is under strain.
  • Check the springs: Broken or worn torsion springs can make it impossible for the opener to lift the door.

Addressing these issues may require professional repair to ensure safe operation.


5. Why is my garage door opener not responding?

When your Genie garage door opener isn’t responding, consider these possibilities:

  • Remote control issues: Replace the batteries or reprogram the remote.
  • Signal interference: Ensure no electronic devices are disrupting the signal.
  • Disconnected power source: Verify the opener is properly plugged in and the circuit breaker hasn’t tripped.
  • Worn-out parts: Aging components such as the motor or gears may need replacement.

If you’ve tried these solutions and the problem persists, professional assistance is recommended.


Final Tips

To keep your Genie garage door opener functioning efficiently:

  • Perform routine maintenance, such as lubrication and cleaning.
  • Address any unusual noises or behaviors immediately.
  • Schedule an annual inspection with a professional to ensure all components are in good condition.

By staying proactive, you can avoid common issues and ensure reliable operation for years to come.

Ask a question?

If you have a questioin regarding a part , fill your details and  we will get back to you shortly.

Ask a question?

If you have a questioin regarding a part , fill your details and  we will get back to you shortly.