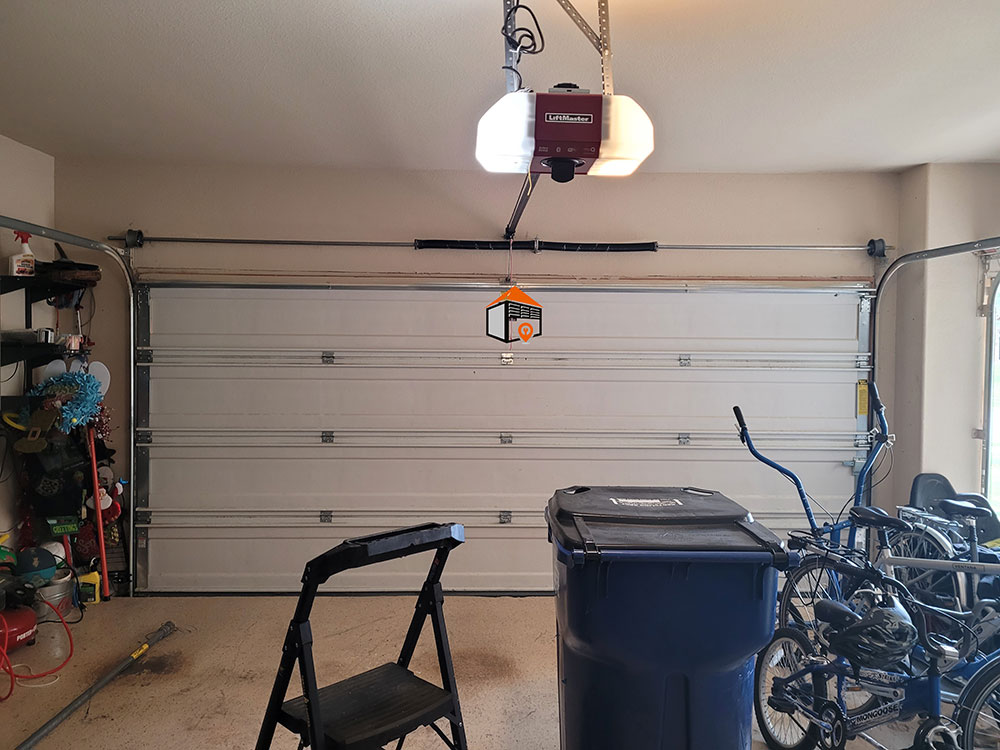
The open and close limit on any garage door opener is the point that you set so the opener will know where to stop on the way down and where to stop so that the garage door is all the way open. There are several different ways that Liftmaster Chamberlain products use to set the open and close limits: one way is manually with a screwdriver, and the other two ways are set by pushing buttons on the control panel to move the garage door up and down. The brand new line of Chamberlain Liftmaster openers that have the MyQ technology are even a little different to set.
Opener Models with Manual Adjustment
Opener model numbers that are adjusted manually include a variety of units, such as 1000, 1000E, 1000SD, 2000, 2000E, 2100, and many more. The extensive list includes various models spanning from basic to advanced, ensuring you find the right instructions for your specific opener. Models often come equipped with specific limitations based on their settings, making it essential to check the compatibility and functionality regarding adjustments.
Preparing to Adjust Limits
Before you set the open and close limits, you should first run your garage door through one complete cycle. Push either the remote button or the wall control button and let the door open and then close. If the door does not open or close completely, or if it hits the ground and goes back up, you most likely need to adjust the open and close limits. If you are installing an opener yourself, you probably won’t need to run the door through a cycle for the first time, as they typically don’t open and close where they are supposed to do when they are new out of the box.
Tools Required for Adjustment
To proceed with the adjustment, you will need a ladder and a flat head screwdriver. Having a handheld remote makes the process easier, as someone can assist by pushing the wall control button, saving you multiple trips up and down the ladder. Each time you make an adjustment, be sure to run the garage door through a full cycle — once up and then once down. This step is vital in determining whether the adjustments met the necessary requirements.
Understanding Safety Features
These open air units come with a safety feature that will shut off the unit if the motor gets too hot from constant running during the open/close limit settings. If the opener unit shuts down, do not be alarmed; simply wait about 15 or 20 minutes for it to cool off, then it should start working again. If the garage door stops or reverses course on the downward travel, it may indicate an unbalanced, binding, or sticking door that needs further investigation.
Locating the Adjustment Screws
First, locate the open and close limit adjustment screws that are either on the side of the opener unit or behind one of the light covers. If you cannot visibly see the adjustment screws, you may need to remove the light cover. These screws should be easy to find; they are usually two plastic white screws, typically marked with icons of a garage door — a down arrow for the down limit adjustment and an up arrow for the up limit adjustment.
Adjusting the Up Limit
If your garage door does not open all the way, turn the right adjustment screw clockwise until it opens just enough so that you can see the very top of your garage door opening. This setting is vital to ensure that tall vehicles will not hit the door opening before reaching the garage door. Consistently check the positioning after adjustments to avoid damage or misconfigurations.
Adjusting the Down Limit
The procedure is the same for the down limit. When setting this limit, be cautious not to turn the screw too much, as doing so may cause the door to go all the way down and then unintentionally come back up. A general rule of thumb for the adjustment screws is that one full turn equals approximately 2 inches (or 5 centimeters) of travel distance.
Closing Thoughts on Garage Door Limits
Keep in mind that if you have excessive travel, it can sometimes damage your garage door or the opener unit. Also, ensure that there is enough downward pressure when the door is closed to maintain a snug fit to the opening. This will prevent it from blowing around in high wind areas, thus ensuring smoother and safer operation of your garage door.
