Understanding the Role of a Capacitor
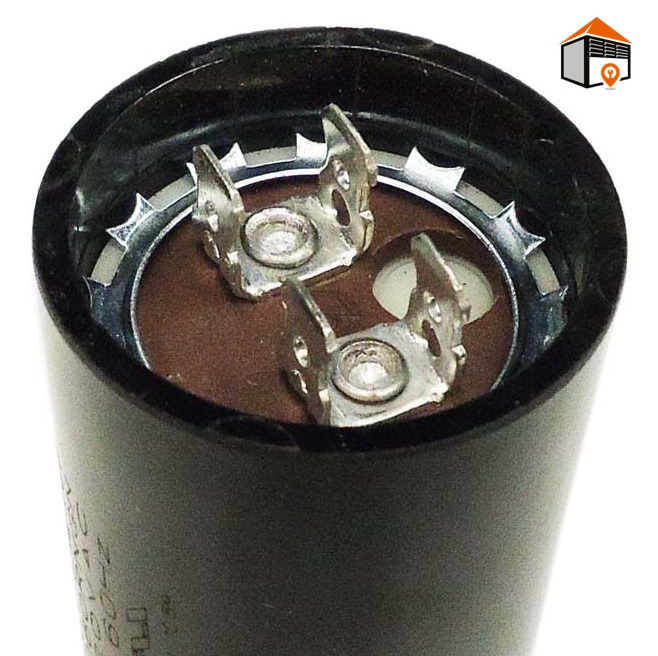
A garage door opener capacitor is a basic part of the electronic system in a garage door opener. If you look inside any electronic device, you’ll find capacitors. They are typically long and cylindrical in shape. The capacitors found in garage door openers serve the crucial function of starting the motor that operates the opener’s chain, screw, or belt. When these capacitors fail, they can release fresh air and start to smoke, which can understandably scare homeowners. However, this scenario is quite common, and the first step is to unplug the unit. Do not be alarmed; simply unplugging the unit quickly will keep you safe.
Signs of Capacitor Failure
Capacitor failure can manifest in various ways. One recognizable example occurs when the capacitor is leaking or releasing a black, sticky tar-like substance. Additionally, corrosion can also affect the capacitor and its four connecting wires, resembling car battery terminals. If you notice that the unit only clicks while trying to activate it or if the motor randomly engages, the symptoms may indicate capacitor failure. To confirm this, carefully remove the opener’s cover and look for the long cylindrical capacitor. If it’s corroded or leaking, you have likely identified the problem.
Safety First: Unplug Before You Begin
Regarding replacing the capacitor yourself, it is one of the simplest repairs you can perform. However, you must prioritize safety. Remember these three critical reminders: 1) Unplug the unit, 2) Unplug the unit, and 3) Unplug the unit! It’s vital because the wires you will disconnect and reconnect can be dangerous if touched or crossed while the unit is powered.
Step-by-Step Guide to Replacing the Capacitor
- Remove the Opener Unit Cover: Start by carefully taking off the cover of the opener unit.
- Identify the Capacitor: Look for the long, cylindrical capacitor with four wires attached. It is usually secured by a small set screw.
- Loosen the Screw: Loosen the screw without removing it entirely, allowing the capacitor to slide out easily.
- Document Capacitor Specifications: Before disconnecting any wires, take a snapshot or write down the information printed on the side of the capacitor. If the text is too hard to read, you may need to disconnect the wires to take the capacitor with you for replacement.
- Replace the Capacitor: Purchase the correct capacitor and attach it. Usually, capacitors have colored wires to assist with the wiring process: match the top wires’ colors and ensure the opposite colors are connected at the bottom.
- Secure the New Capacitor: Retighten the screw to hold the capacitor securely in place.
- Test the Opener: Plug in the unit to check if the capacitor replacement resolves the problem. Reattach the opener cover only if the issue is fixed.
Diagnosing and Troubleshooting Further Issues
If replacing the capacitor does not rectify your garage door opener problem, other issues may be at play. Even if the capacitor appears free from corrosion or leaks, it can still malfunction. As capacitors are relatively inexpensive, starting your diagnosis here makes sense. Always remember to unplug your opener unit before any repair, although diagnosing might sometimes require it to be connected.
When to Consider Professional Help
If, after replacing the capacitor, the issue persists, it may be time to consult a professional or replace the garage door opener unit entirely. The motor’s electric components could be failing, and many manufacturers offer lifetime warranties on specific models. A few minutes of research could save you money on repairs or a replacement unit.
Essential Reminders for DIY Repairs
In conclusion, while capacitor replacement in a garage door opener is generally straightforward, safety always comes first. By following these steps and guidelines, you can confidently tackle this simple repair. However, never hesitate to reach out for professional assistance if you’re uncertain about any steps in the process or if issues persist after replacement.
