
Handheld Universal Remote Programming
There are two different ways to program a universal remote. The first and more common method for older openers is the DIP switch. There are two types of DIP switches: the 2-position and the 3-position. A 2-position DIP switch typically has a series of 12 switches that can be either on or off (up or down), while the 3-position DIP switch usually has nine switches with three positions marked as a plus sign (top), minus sign (bottom), and a circle in the middle indicating off or neutral. The alternative programming method involves a smart or learn button, commonly found on newer openers manufactured after 1990.
Compatible Brands
These instructions also apply to other brands of openers that are compatible with Chamberlain Liftmaster technology, including Do-It, Master Mechanic, Raynor, True Value, and Sears Craftsman. Ensuring compatibility before proceeding with the programming can save you time and frustration.
Smart or Learn Button Programming
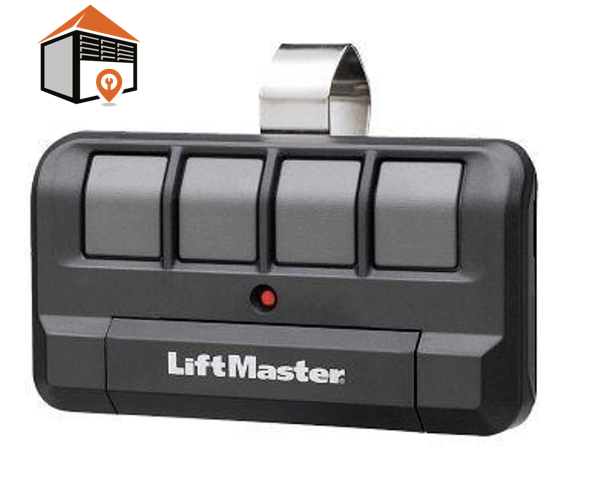
First, locate the smart or learn button on your Chamberlain Liftmaster or Craftsman opener, usually found on the back or behind a light cover. Once you’ve found the learn button, determine its color. If it’s red or orange, write down the number 2; if purple, the number 3; and if green, the number 4. You’ll need this number to program the remote properly. Next, slide off the battery cover on the remote to expose the program button. Press the program button, and you should see an LED light indicating the remote is in program mode.
Programming Steps
After putting the remote in program mode, press the learn button on the opener. Select one of the two buttons on the remote for programming. Press the selected remote button the number of times corresponding to the color of the learn button—2 for red or orange, 3 for purple, and 4 for green. Press the buttons slowly and steadily to ensure the opener registers the code correctly. When successfully programmed, the opener will click, flash its lights, or activate the garage door itself. To finalize, press the program button on the remote again until the LED light turns off.
DIP Switch Programming
Model Numbers that Use DIP Switch Programming
Models that utilize DIP switch programming include 1000, 1000E, 1000SD, 1000SDC-R, 1000SDR, 1000SDC, 2000SDC-R, 2000, 2000E, 2000SD, and 2100. To begin, locate the manufacturing date on your Chamberlain Liftmaster opener, typically printed on the back or behind a light cover.
Finding the Right DIP Switch
If your opener was manufactured between 1990 and 1992, note down the number 11; if it was manufactured between 1983 and 1989, write down the number 12. Next, find the DIP switch receiver on your opener, usually located on the back or behind a light cover. You should see a series of tiny switches, typically 12 or 9 in number, which will help in matching the settings.
Matching Switches
To program the handheld remote, slide the front cover off. You should see a row of switches; match their positions with those on the opener unit. The last three switches will remain in the off position since Chamberlain products typically only use nine switches. Once you’ve matched the settings, press the program button until the LED light comes on, then press the desired button on the remote slowly—either 11 or 12 times. If the door does not respond, try reversing the switch positions and repeat the programming steps.
Programming a Universal Liftmaster/Clicker Brand Keypad
Keypad Programming with Smart or Learn Button Technology
First, select a four-digit PIN number that is easy for your household to remember but not based on your address. Write it down along with the number corresponding to your opener’s learn button color—2 for red or orange, 3 for purple, and 4 for green.
Initial Steps for Programming
To start the programming process, press and hold the * and # keys until the keypad flashes. When the flashing stops, release the keys. Next, enter your four-digit PIN, followed by pressing the # key, then enter the single-digit number for the learn button color and press # again. Go to the opener unit and press the learn button, then return to the keypad.
Testing the Programming
Enter your four-digit PIN and press the 0 key to test if the programming is successful. Wait until the lights on the keypad go off, then try entering the PIN again. If the opener doesn’t activate, carefully repeat the process to ensure each button has registered properly. If you’re still unable to get a response, consider reaching out to LiftMaster’s customer service for further assistance.
Conclusion
By following these detailed instructions to program your Chamberlain Liftmaster or