Introduction to Installation Methods
When it comes to installing Liftmaster, Chamberlain, and Craftsman garage door openers, there are three different methods available. Understanding these options can simplify the process and ensure a successful installation.
The Simplicity of the 3800 Series
The first method is the simplest, involving Liftmaster’s 3800 series of jack shaft wall mount openers. This installation stands out due to its lack of a rail system. Instead, these units are mounted on the wall at the upper left or upper right side of your garage door. They attach directly to the torsion pull, eliminating the need for chains or belts. The only steps remaining involve running safety sensor wires and making force and limit adjustments, along with remote programming.
Understanding the 5-Piece Rail System
The other two installation methods involve standard garage door openers equipped with a 5-piece rail system. This kit is designed for convenient packaging, allowing the entire rail assembly to fit in one box. When you buy any Liftmaster or Chamberlain product from a retail hardware store, it will typically include this 5-piece rail system, which requires assembly.
Professional Grade Opener Systems
The third type of installation involves professional-grade openers sold exclusively at garage door supply warehouses. These units come with a fully assembled rail in a 9-foot-long square box. Unlike the DIY models, they do not require assembly, which saves significant time and effort during installation.
Assembling the 5-Piece Rail System: Key Tips
When you opt for a 5-piece rail assembly, keep a few important assembly tips in mind. First, make sure to assemble the rail on a level, flat surface, like your garage’s concrete floor. If you try to do this on an uneven surface, the rail may acquire bends that can disrupt functionality.
Essential Steps in Rail Assembly
While bending the metal tabs on the rail pieces, it’s crucial to utilize sturdy tools like a hammer and center punch. If you don’t have a center punch, a short screwdriver will work. Make sure to bend the tabs on both sides of each rail piece, ensuring a secure connection.
Positioning the Trolley Correctly
Do not forget to slide the trolley onto the rail before you start assembling the chain or belt. If you neglect this step, you will have to disassemble parts to fit the trolley later. Remember, the trolley must be positioned at the front of the rail during assembly to avoid activation issues.
Belt and Chain Drive Installation Tips
When working with a chain or belt drive opener, thread the chain or belt through the opener slot before attaching the pulley. Trying to fit the belt later will often lead to complications.
Assembling the Solid T Rail
For those installing a solid T-rail, the process is much simpler. You will just need to mount the rail to the motor head and tighten the chain or belt according to specifications. The screw drive rail system is even easier, as it does not involve a chain or belt assembly.
Troubleshooting Support Beams
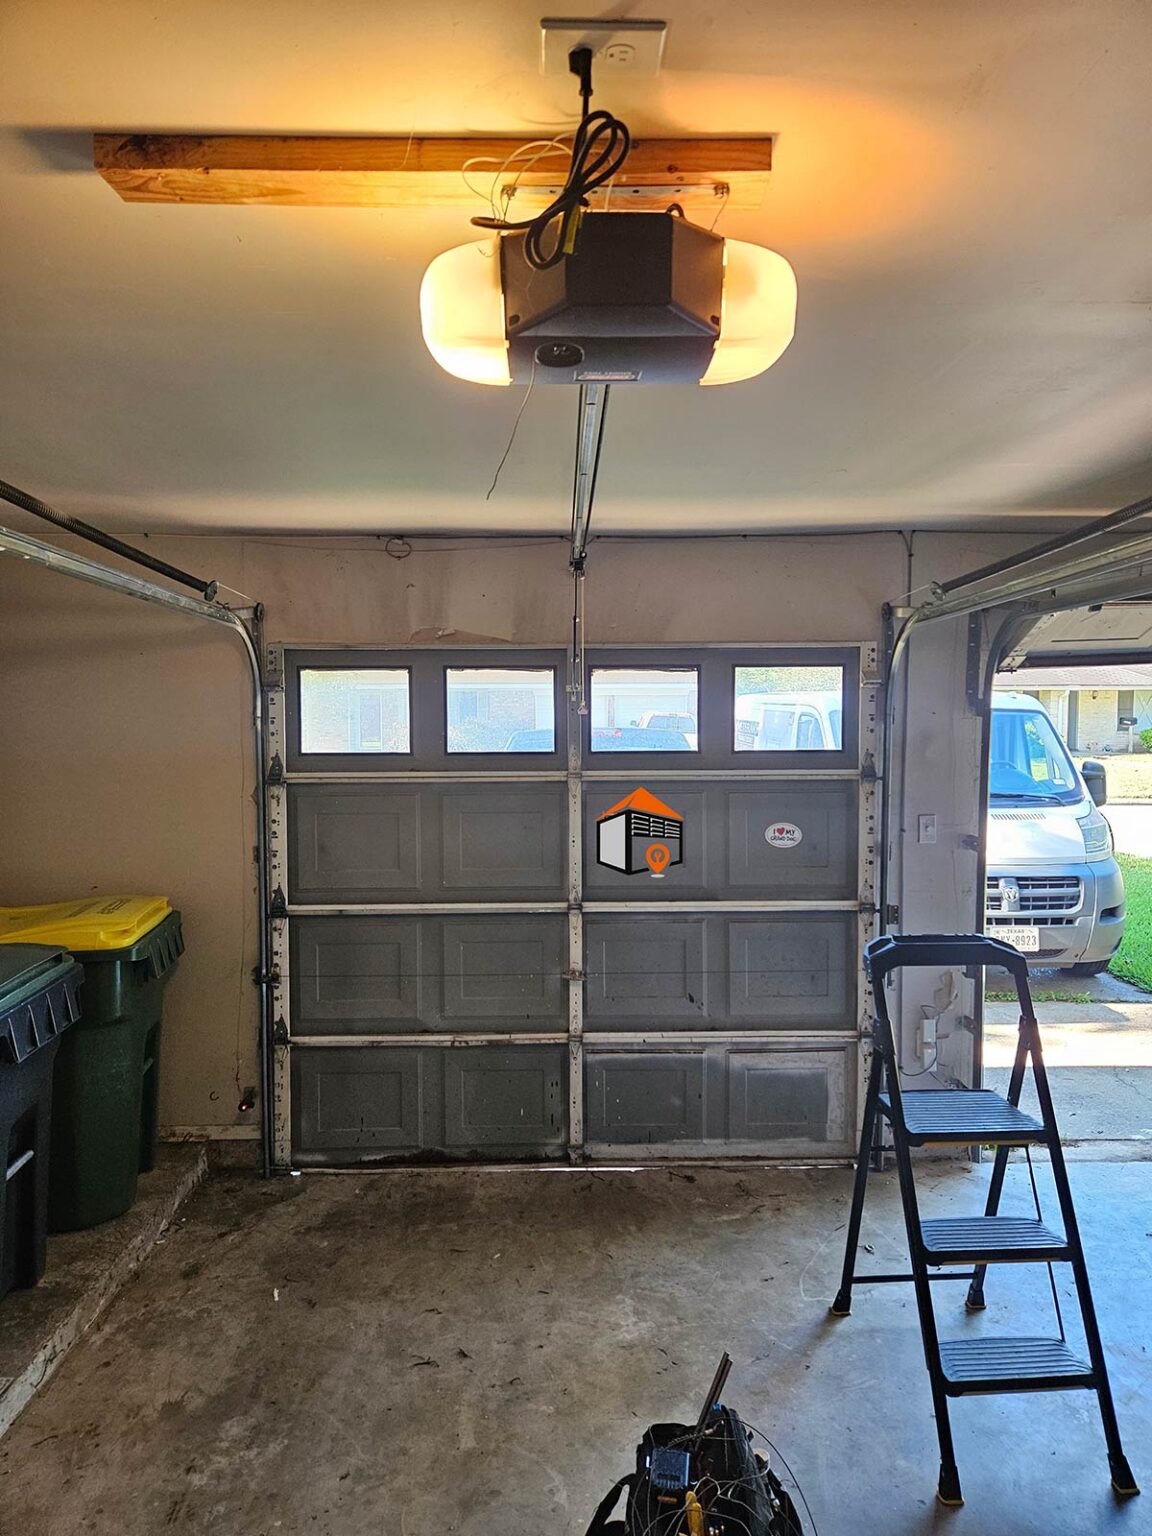
In some garages, a support beam can hinder the installation process. If the opener motor head does not fit within an 8-9 foot area from the door opening, you may need to shorten the rail carefully. This task should only be attempted by those who are mechanically inclined and familiar with power tools.
Measuring for a Successful Fit
To avoid complications, measure from the front anchor bracket to the back of the motor head. Document this measurement and compare it to the distance between the header above the garage door and the support beam. If the rail is too long, you will need to shorten it from the back where it connects to the motor head, not from the front.
Potential Challenges with Different Opener Types
Shortening a rail can be complicated, especially with chain or screw drive systems. For best results and to avoid damage, it is advisable only to shorten a belt drive opener rail.
Conclusion: Preparation for Installation
Before starting the installation of a garage door opener, assess your garage environment for support beams and other potential obstacles. This preemptive step can save you time and troubleshoot issues in advance. Knowing the limitations and requirements for each type of opener helps ensure a more accessible installation process.
