Overview and Diagnostic
Inside slide locks are generally reliable and don’t often fail due to their simplistic design. Typically, they consist of a thick sliding piece of metal and are extremely durable. However, if you live in a coastal area where rust may be an issue, you might find the need to replace one. Although I have not frequently seen slide locks fail, it’s always best to check and be prepared for replacement if necessary.
Key Information:
– Cost: $10-30
– Difficulty: Easy
– Time to Repair: 30 minutes or less
Tools Needed for Installation
To install an inside slide lock, you’ll require a few tools: a 3/8 or 7/16 wrench or socket and a 1/8 inch drill bit are essential. An impact drill is preferable, but a standard drill will suffice for pre-drilling holes. Additionally, you’ll need a hammer, pencil or marker for marking your drill points.
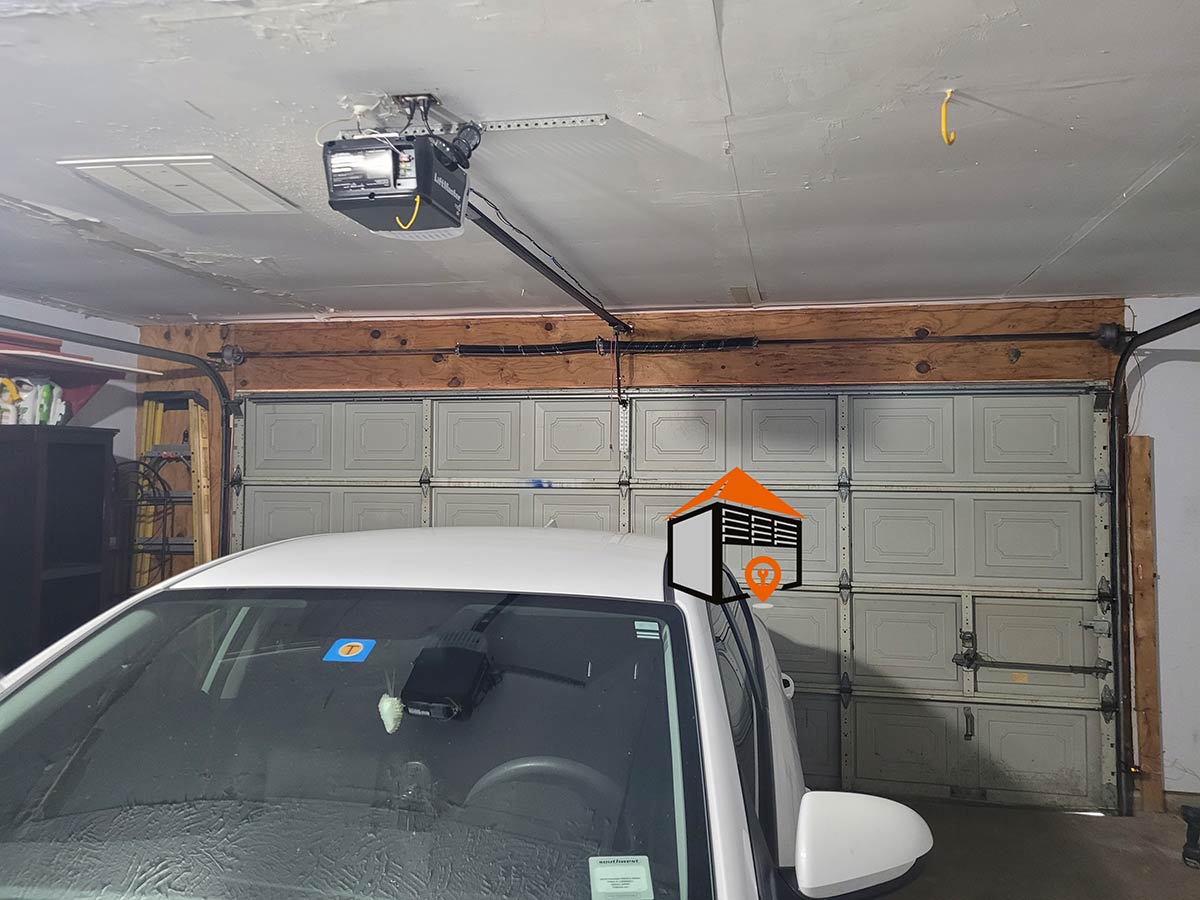
Inside slide locks are predominantly used on garage doors lacking an automatic opener. If your garage door is equipped with an opener, the slide lock may not be necessary. However, it’s worth mentioning that some users may forget to unlock the slide lock before using the opener, which can result in damage to the door’s top section.
Where to Find Slide Locks
If you’re looking to purchase a slide lock for your garage door, you can easily find one online or at local home improvement stores like Lowe’s and Home Depot. They typically maintain a dedicated section for garage door hardware, including hinges, rollers, and remotes. Slide locks usually come in various sizes but function similarly across different manufacturers.
When installing a slide lock on a steel garage door, consider using self-tapping metal screws if you have an impact drill available. If you’re working with a wooden door, opt for wood screws that are less than 1.5 inches long, as that is generally the thickness of a wood panel. Be cautious to use sturdy screws and avoid thinner household types that might fail.
Step 1: Prepare the Track
To begin installation, find the appropriate location on your track for the slide lock. If you are replacing an old lock, you can skip this step. Manufacturers often pre-punch holes in the vertical track; you might see up to five different slots. If a rectangular stamp is present but uncut, you can remove the center piece using a chisel. Be deliberate when popping it out; too much force can damage the track.
Once you’ve removed the small metal piece, you can proceed to the next step.
Step 2: Position the Lock
Next, you’ll need to position the slide lock correctly on the left or right side of the door where you’ve made the slot. Avoid placing it too far to the right, as this could hinder the door’s ability to open. The slide lock will have a hole meant for a padlock, which should be accessible but not protruding too much into the track.
Once you have the desired positioning, mark where you plan to drill the mounting holes with your pencil or marker. Remove the lock, pre-drill these holes, then reattach the lock to the door and secure it with screws.
Final Checks and Security
After securing the lock, ensure the sliding mechanism operates smoothly by unlocking it and lifting the door. The lock should not snag or interfere with the track as it rises. If needed, make minor adjustments based on its movement.
Finally, insert a padlock through the designated hole, ensuring it operates correctly from both the inside and outside. This added security measure will help prevent unwanted access to your garage. With the door in the closed position, slide the lock through; if the door remains secure, your installation is a success. Enjoy the enhanced security this inside slide lock offers!
