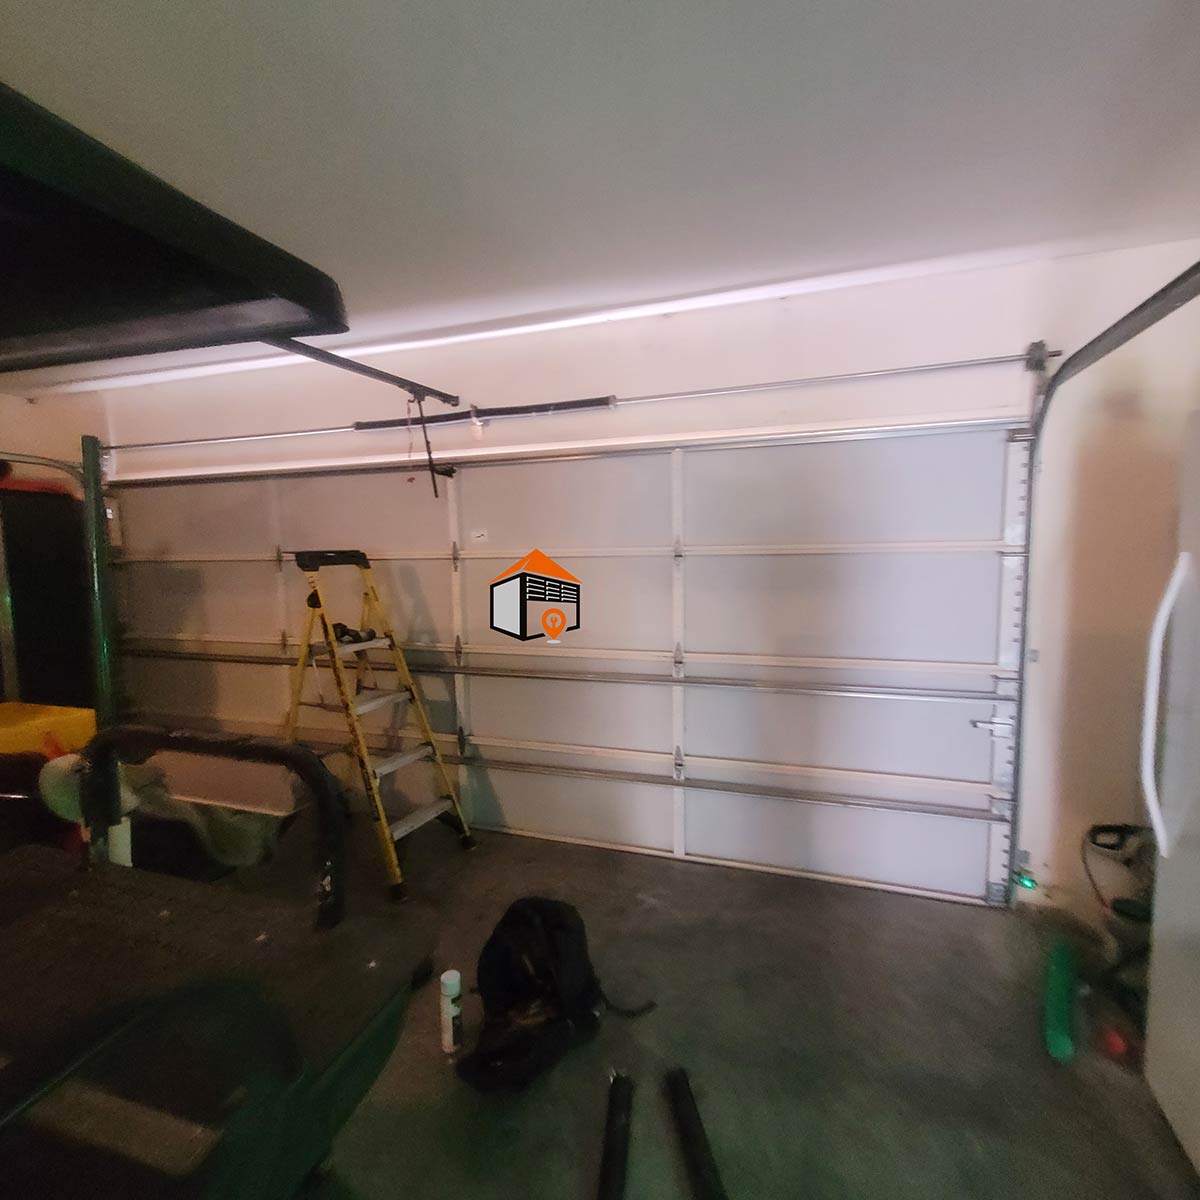
Identifying the Damage
Diagnostic: Usually, any damage to the top fixture will be visible. The hinges often get damaged if a door goes off track or if cables jump.
Cost: $10-20
Difficulty: Easy
Time to Repair: 30 minutes to one hour
Tools Needed: Impact Drill (not necessary but recommended), 3/8 socket or wrench, 7/16 wrench or socket (ratchet wrenches work better than standard wrenches).
Understanding the Top Fixture
A: The top fixture on a garage door is located at the upper right and left-hand corners of the garage door. It is shaped like a triangle and usually has one or two adjustment bolts or nuts to ensure proper alignment against the door jamb. Alternatively, for low headroom garage doors, the fixture is a flat piece of steel with a slot for the top roller. Distinguishing between standard and low headroom fixtures is crucial, as they serve different purposes and are shaped differently.
Safety Precautions
Before starting any repairs, ensure the garage door opener is functional and the door is closed completely. Keep the opener engaged to prevent the door from falling. In the absence of an opener, enlist help or use a nail to secure the top section while you work. Always remember to remove the nail before operating the door.
Standard Lift Fixtures
Standard Lift: This type of top fixture consists of two parts: the triangle piece secured to the garage door and the sliding component with the roller. If you’re struggling to remove the old fixture, loose adjustment bolts may help disassemble it. When installing the new fixture, ensure you store all screws and bolts properly, then align the new fixture using the old screw holes.
Installing the New Fixture
When installing the replacement hardware, leave the adjustment bolts slightly loose to facilitate alignment. Ensure the roller is correctly positioned in the slot before securely attaching the new fixture. Once installed, firmly press the top corner of the garage door against the door jamb before tightening the adjustment bolts. This ensures that the door remains flush against the frame.
Low Headroom Lift Explained
Low Headroom Lift: This style of garage door track is distinct and is often necessary for areas with limited headroom, typically less than 10 inches. The top piece of the horizontal track is intended for the top roller, allowing the door to operate with minimal lift. A proper understanding of headroom measurements and the specific setup of your door is essential when performing repairs.
Replacing Low Headroom Hardware
For low headroom fixtures, examine the top brackets closely as they are often rectangular with slots for adjustment. Remove existing screws or nuts to detach the bracket and roller. When replacing the new bracket, consider whether pilot holes are needed, especially if adjustments are necessary. Always ensure proper clearance while making these repairs.
Wood and Steel Door Considerations
If you have a wooden door, you may need to reinstall hardware in the original position, as through-bolts may not line up properly with new fixtures. Metal doors might feature an additional strut running along the top, which should be firmly secured after hardware replacement. Ensure that your repairs create a flush fit between the door and frame to avoid future issues.
Testing and Final Adjustments
After finishing the installation, operate the garage door by hand to check its functionality. If adjustments are required, remember to do so gradually. If the door hits the cable drums during operation, reposition the top fixture accordingly. It may sometimes be necessary to call a professional for further adjustments, particularly if you are working in a low headroom situation.
Conclusion
Replacing the top hinge of a garage door can be an easy task with the right tools and precautions. By following these guidelines, you can ensure your door operates smoothly and safely. Whether dealing with standard or low headroom lifts, careful attention to installation and alignment will yield the best results.
